Behind the Photo - Bold & Vibrant

It has been such a long time since I set up a creative project like this, and I wanted to start the new year off by being bold and vibrant with this one.
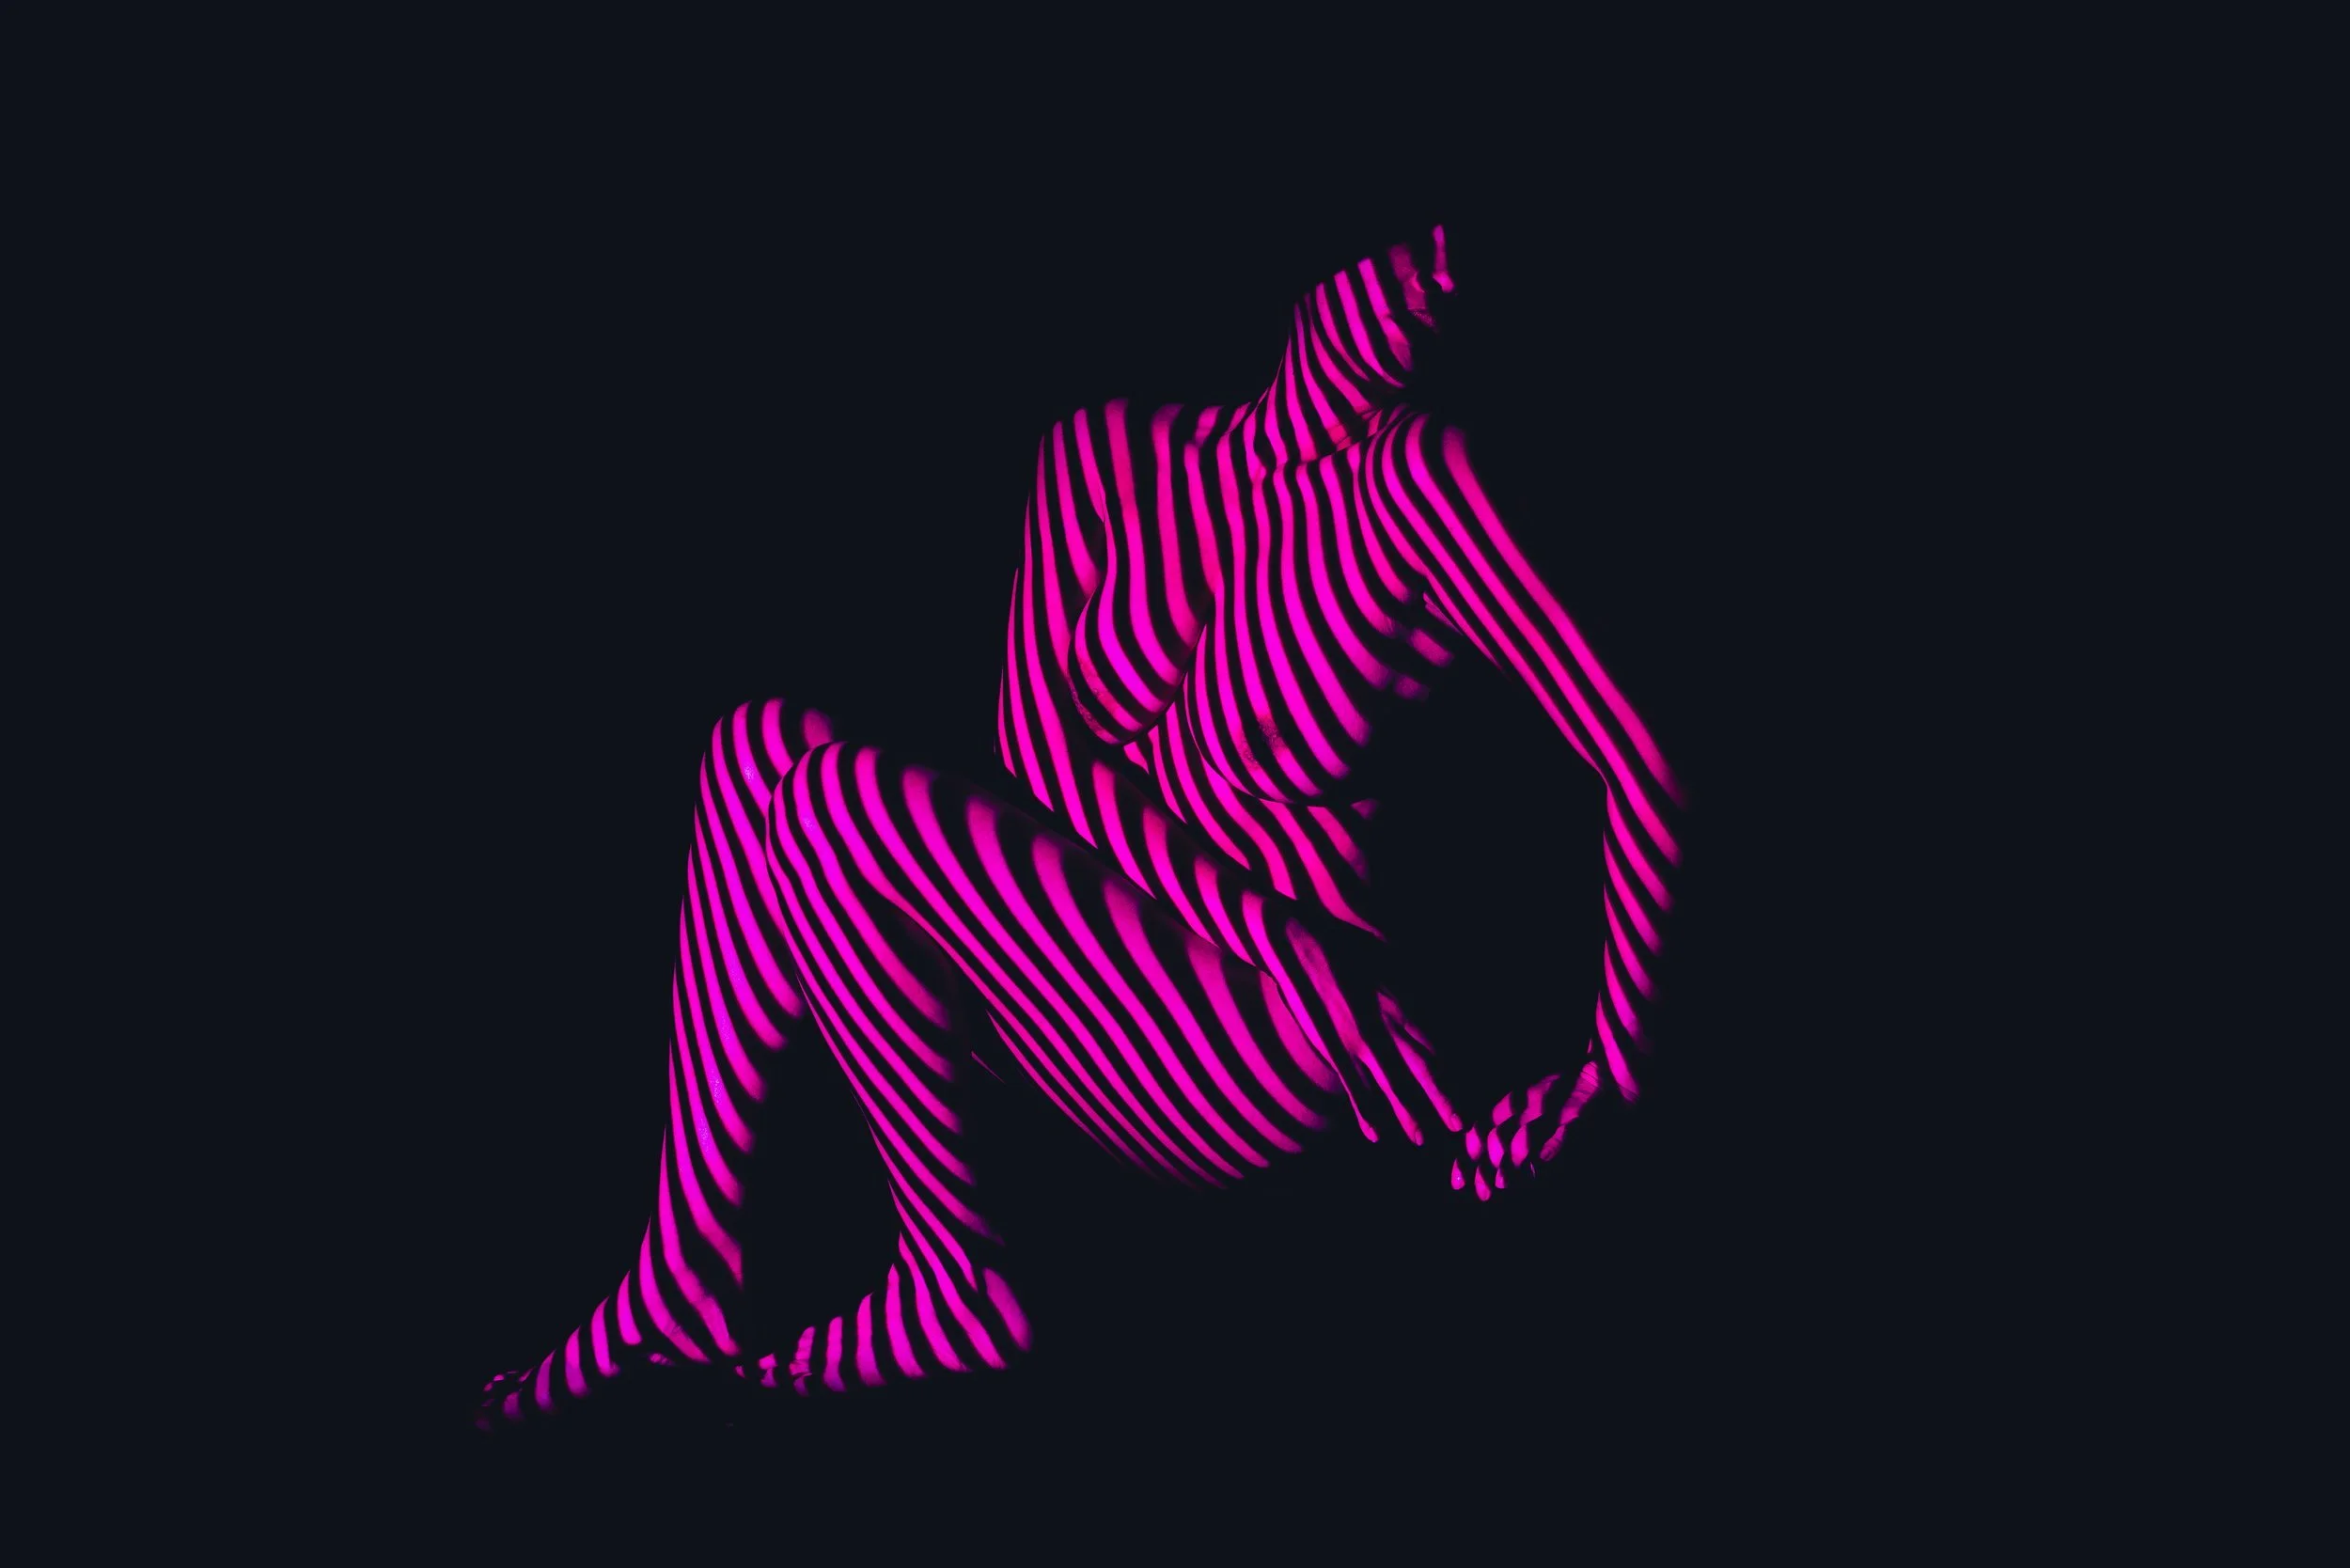
For Christmas, I had treated myself to the Optical Spot by Lindsay Adler, and I knew that I wanted to take this gobo projector and make something that was sexy, bold, and colorful with it.
And I think you can see from the photos that what we put together, we hit all of those bullet points.
- Bold & Vibrant -


Watch the Behind the Scenes Video for this Shoot
How it was done
Shooting this was pretty simple. It's just one light (Godox AD400) with the Optical Spot attached. We used a few different gobos that we inserted into the projector to get the patterns to show up on our model (Sasha).
Now, if the Optical Spot seems a bit out of budget for you, we were also using the Light Blaster by Spiffy Gear, which does the same thing, just that you have to use it with a speedlight. In our case, we used the Godox AD200. Now with the light blaster, you still have to attach a lens to it, and we were using the lens that came with the Optical Spot because with that lens, you can dial in the sharpness.
Using the Optical Spot with the AD400 had one major benefit: the ability to use a modeling light with it attached. Using a modeling light takes out all of the guesswork when lining up your light and getting the sharpness of your pattern dialed in. So it's highly recommended that you use a modeling light with the Optical Spot cause it will just make your shoot a million times easier.
Now I did play around with gels when using this setup. And having different colors to play with was a lot of fun. However, it wasn't entirely needed. Only one of the final images had a gel being used. For all the other ones, I got the color added in easily by playing around with the color temperature and tint in Lightroom.
So as long as you have a basic understanding of Lightroom, just start moving all of the sliders around to see what you got. It's so much fun, and it will help you discover things in the program that you might have never realized before.
What Would I Do Differently?
I would have practiced this more beforehand and focused more on the model's posing. I learned that the way the model's body is positioned would significantly change how this effect is displayed.
And I would have also gotten the AC adaptor pack for the AD400 cause having the modeling light on all the time to see how the pattern would look killed my battery.
What do you think about this project?
If you love this photo or want to know more about how this was done just let me know your thoughts in the comments below.